Sometimes you just have to buy a bundle of fabric when you absolutely fall in love with the prints or the colors. But let’s be honest — sometimes you don’t even need a specific reason!
I totally fell for this cute little bundle of Tilda fabric at the end of summer, while traveling to several quilt shops in the west and southwest of the Netherlands.

During our visit to Quiltshop Leur, the colors just called to me, and the six blue, pink, and teal pieces of fabric went home with me. It was one of those bundles that called out my name, and I immediately knew what I wanted to make with them.
Because I fell for the colors as a bundle, I knew I had to use them all in the same project. But as they were, it felt a bit too busy, so I wanted to add another fabric as a “neutral.”

Instead of reaching for white or a low-volume print, I went straight to my blue stack of fabrics. In there, I found several fat quarters and a coupon of this beautiful dark blue Motley fabric by Giucy Giuce, and it was the perfect pairing.
Planning and Piecing
One of my favorite blocks, when I want the fabrics to shine instead of the pattern, is the half square triangle. I measured the Tilda fabrics, and that’s how I decided on the size of my finished HSTs.

I wanted to make the quilt as large as possible with the amount of fabric I had left, and in the end, it worked out really well. I only had a few tiny scraps of the Tilda prints left, and the dark blue was exactly enough for the blocks and the binding — like it was meant to be.
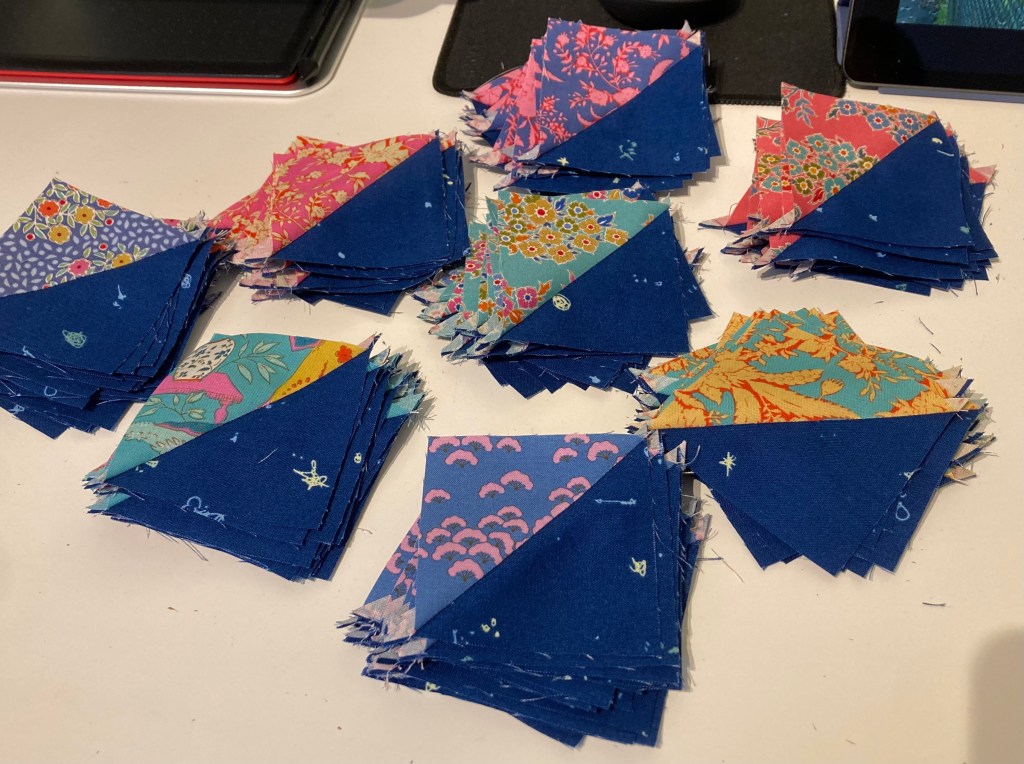
I like to sew these kinds of projects in several phases:
* first sewing two-at-a-time HSTs,
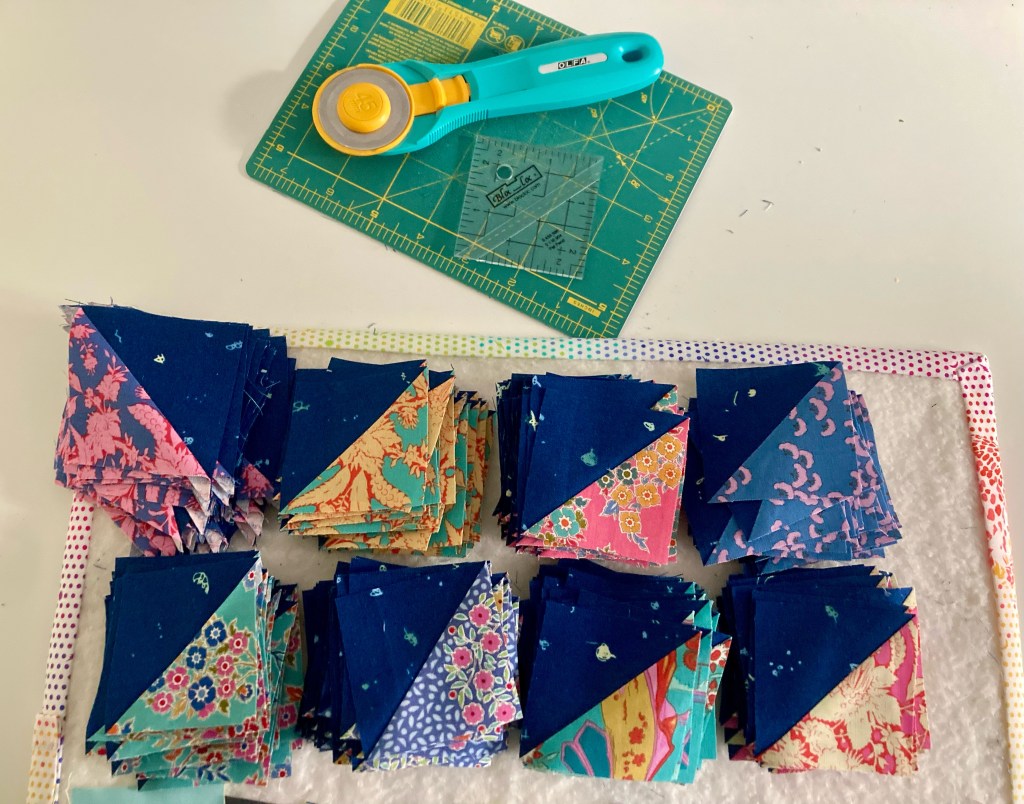
* then cutting, pressing, and trimming to size,
* sewing them into pairs,
* pressing seams open,
* finally assembling them into 2×2 blocks.
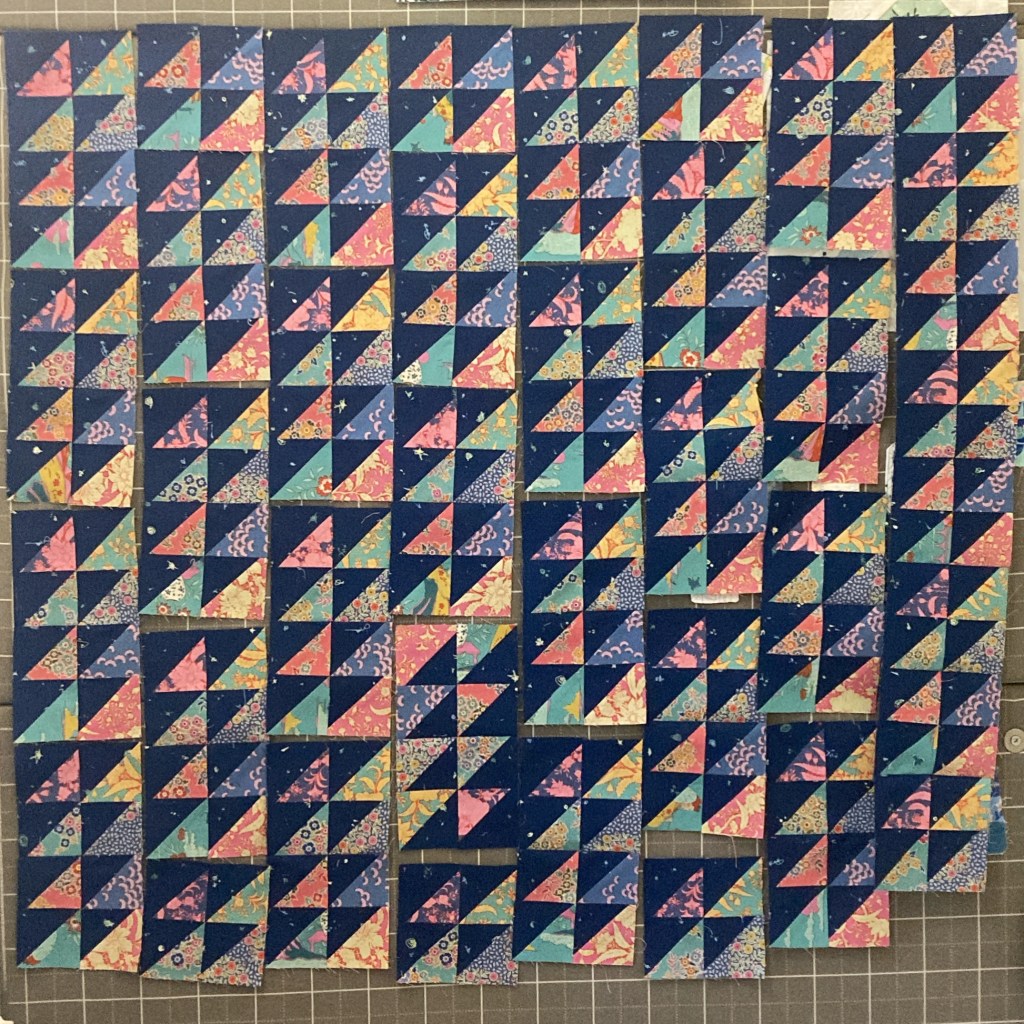
Since I didn’t have a set plan for the final size, I used my design wall to play around with the layout. It ended up being the perfect size to hang on the wall above my fabric shelves. I used up every block — nothing was left — and I couldn’t have been happier!
Quilting and Finishing Touches
Last week, during our guild’s sewing bee, I quilted the wall hanging. I used up several smaller pieces of batting to create a piece of Frankenbatting by sewin them together. For the back I went with a lighter blue piece of fabric. I added diagonal lines next to the middle of the HSTs on the dark blue side, using the edge of my sewing foot as a guide.
Then I added the dark blue binding, a cute label, and a hanging sleeve. The only thing left to do sometime soon is to add my personal label on the back.
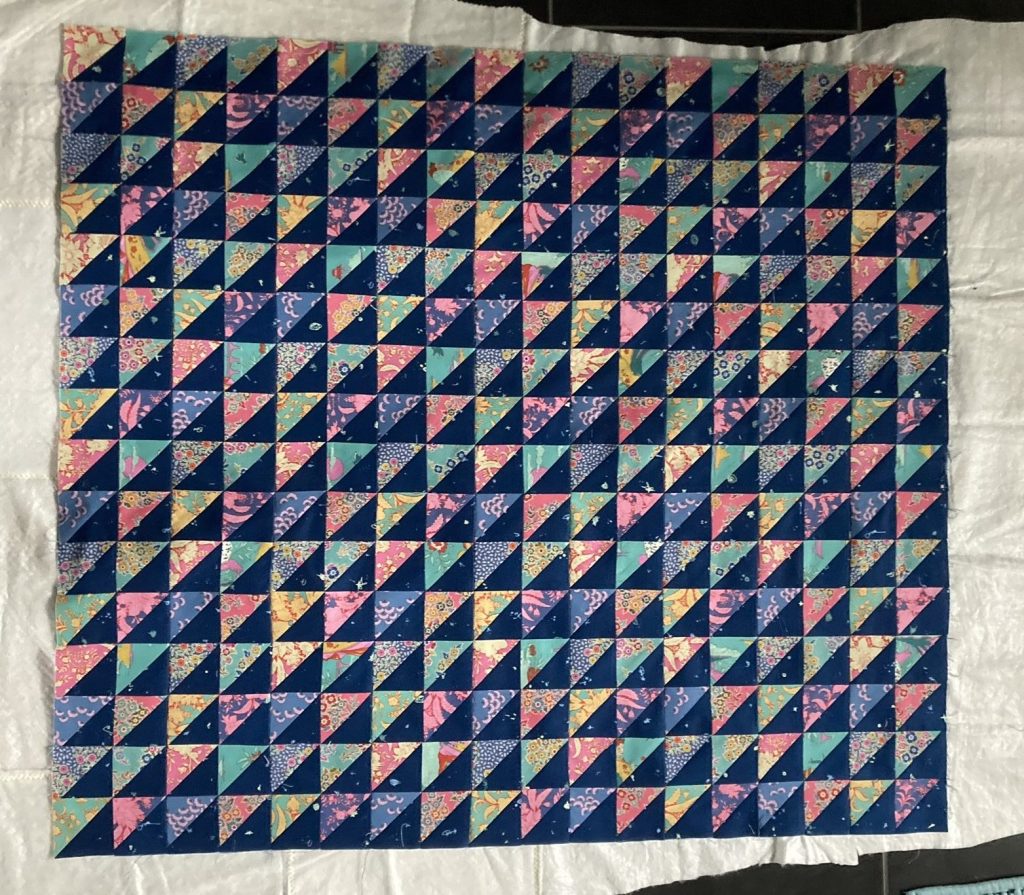
The Finished Piece
I’m so happy with how it turned out — everything worked out perfectly, and it fits the cozy feeling of my sewing room so well. I just love how the colors came together!

I really enjoyed making this little wall hanging from start to finish. It reminded me how satisfying it can be to follow your instinct, trust the colors you love, and just sew for the joy of it. I hope it inspires you to pull out a bundle that’s been waiting in your stash and turn it into something that makes you smile every time you see it.

Leave a comment