At the beginning of the year, you see quilters everywhere tidying up their supplies, making resolutions, and bringing a fresh breeze into their sewing rooms. Maybe you do a big cleanup, say goodbye to some items, or take a closer look at what you might still want to add. For many, this is the so-called design wall. I made one a while ago together with my husband and kept getting questions about it, so I thought it was time for a blog about how I tackled it. Of course, there are many more options. I did some research online, but also looked around me, and this is how I went about it.
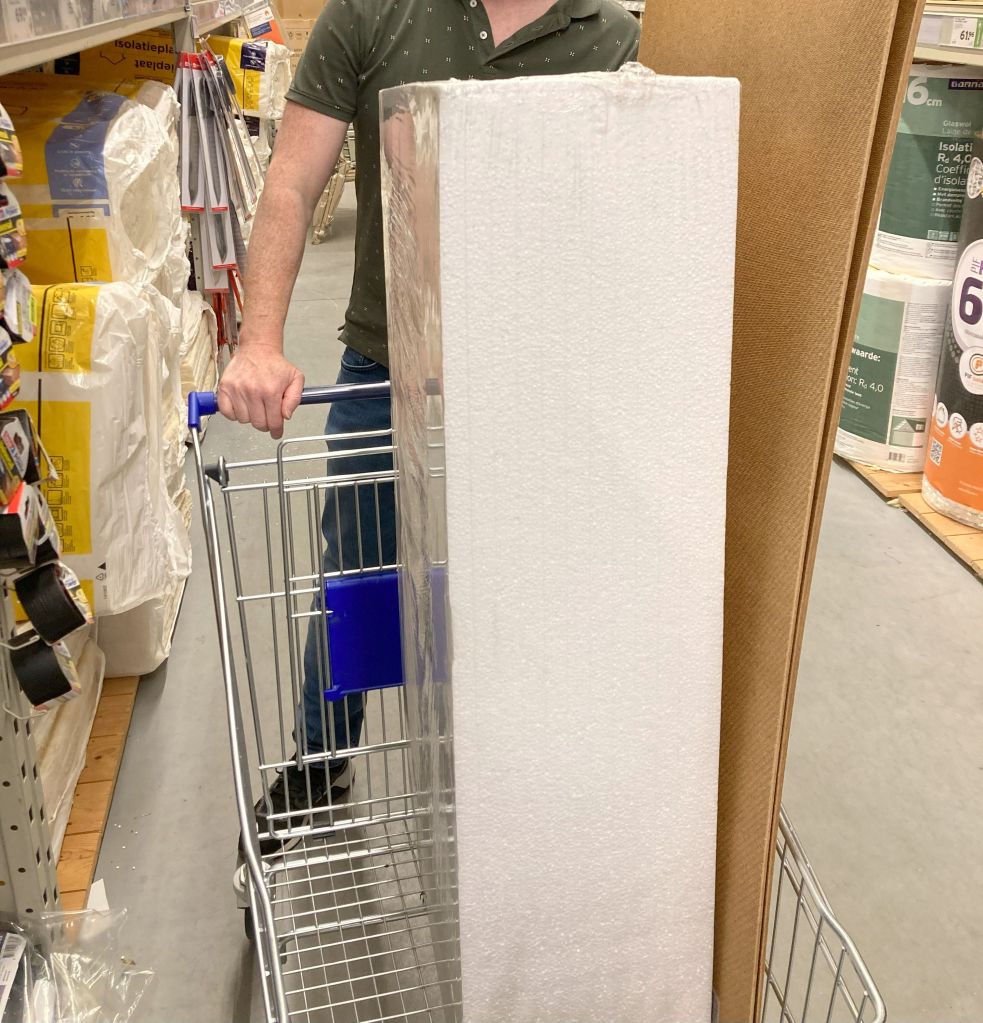
As materials, I used polystyrene insulation boards, which I simply bought at the local hardware store. I chose a thickness of 2 cm, and for a sturdy backing, we used chipboard. Since I wanted to hang it on the wall, I had to consider the weight—making sure it wasn’t too heavy but still sturdy enough. Additionally, we bought double-sided tape, a staple gun (which, by the way, is such a fun tool to use, haha), and for the covering, I chose a gray flannel with a grid pattern. This fabric was specifically designed by Kaffe Fassett for making a design wall.
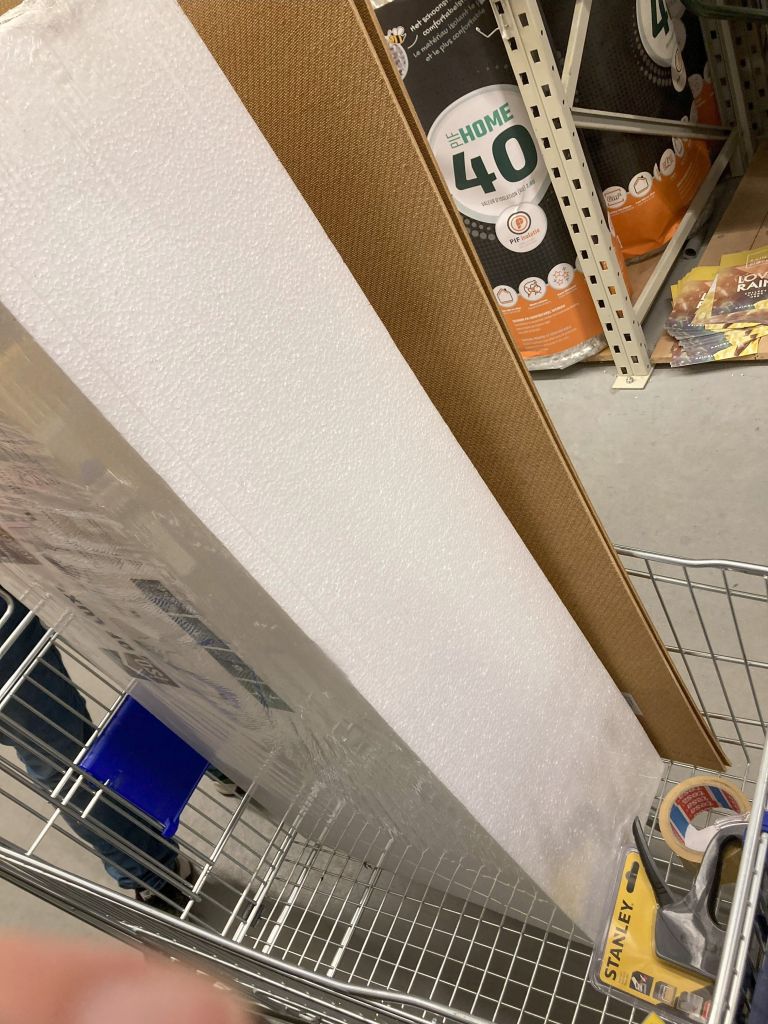
We cut the polystyrene boards to match the size of the chipboard (photo 1). Since I have a small room, I took this into account when choosing the materials. The chipboards are 1 meter wide and 60 cm long. A nice bonus was that this made it easier to carry the design wall up the stairs in sections and mount it on the wall.
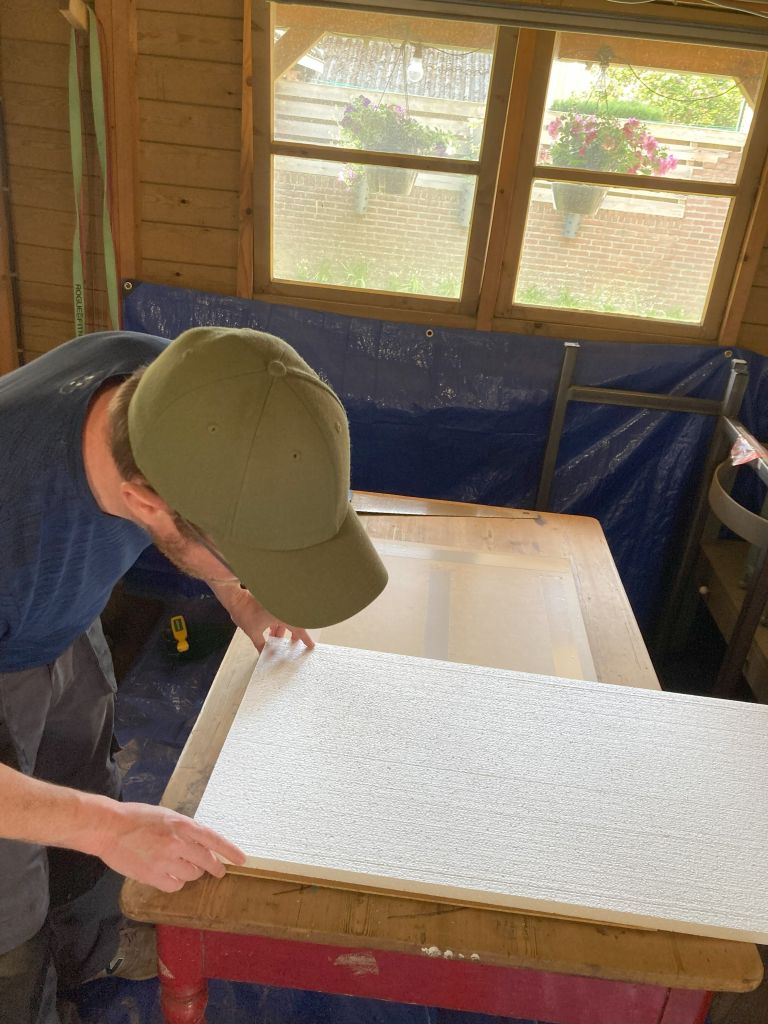
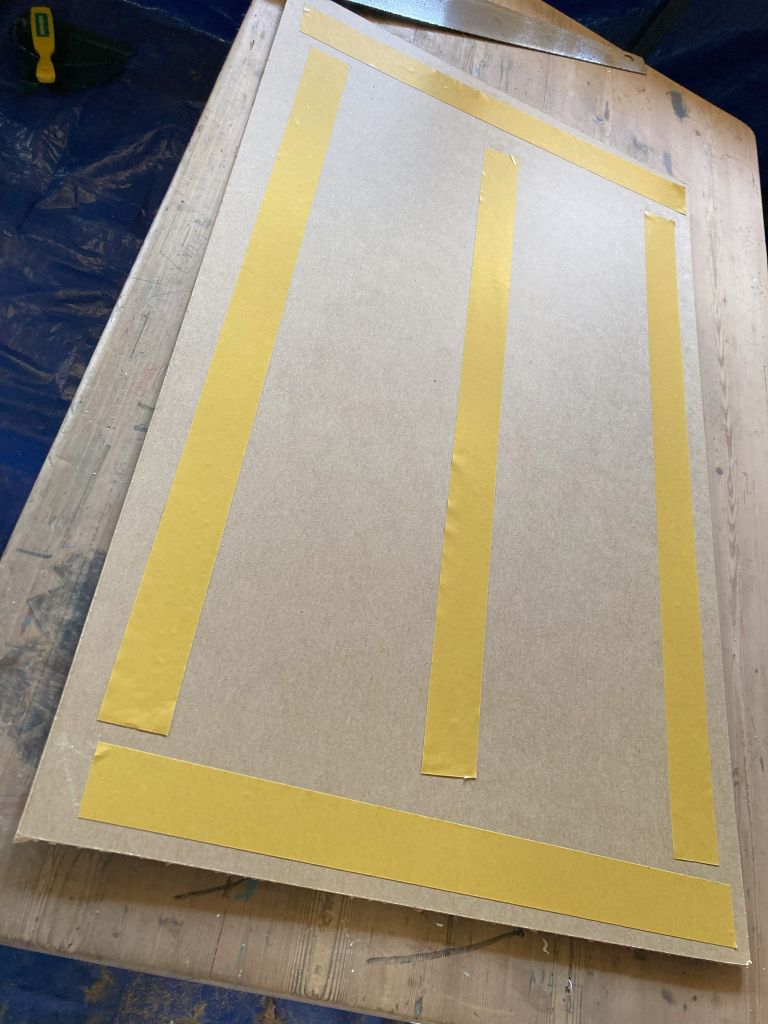
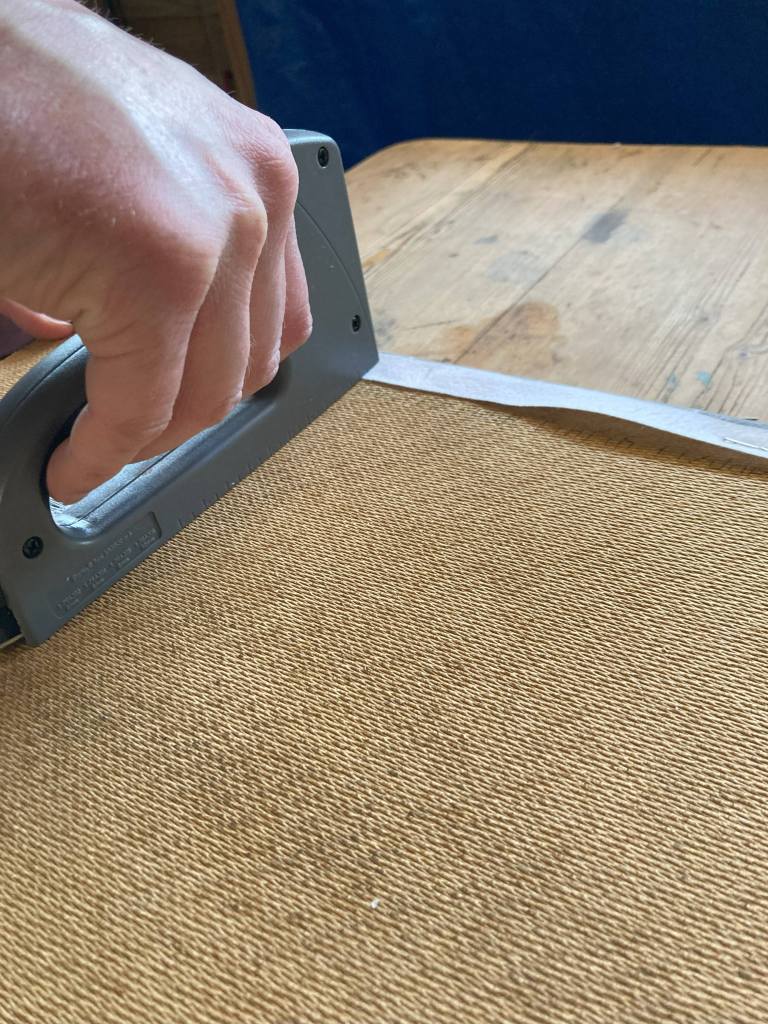
We used double-sided tape to attach the chipboard and polystyrene together (photo 2). On the polystyrene side, we placed the flannel, pulled it tight around the back, and secured it with the staple gun (photo 3).

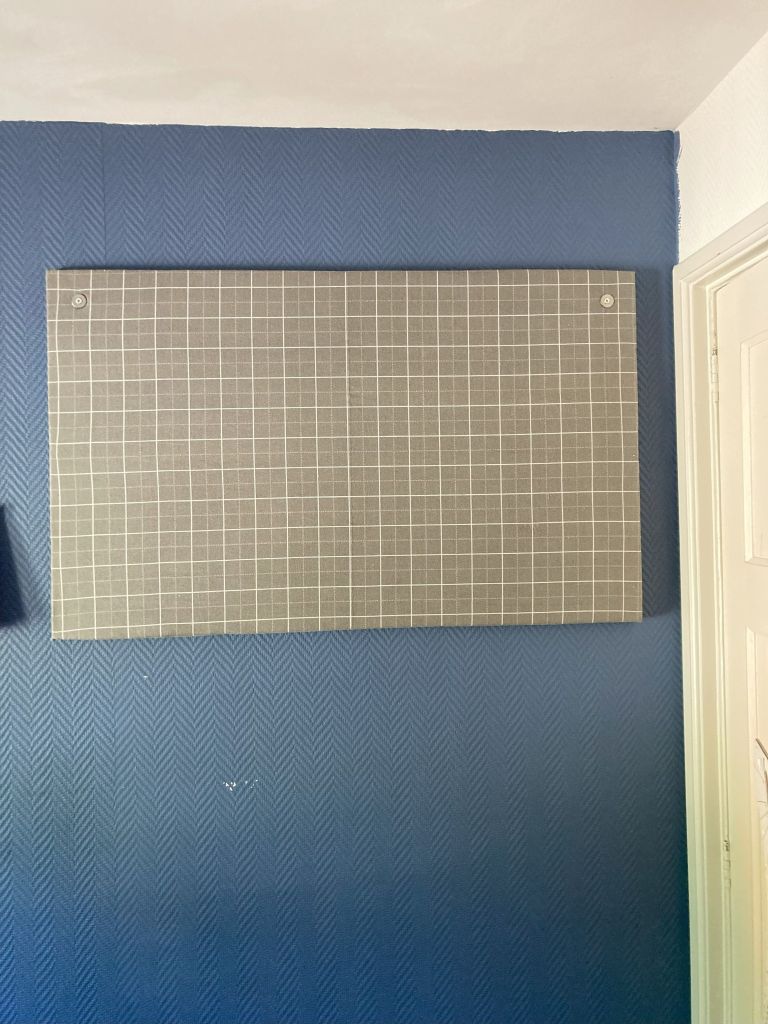

To attach the boards to the wall, we simply screwed directly through the board into the wall. To prevent the screw from sinking into the board, we placed a small washer in between. In total, I had space for three boards stacked on top of each other in my room, giving me a super handy design wall that is 1 meter wide and 1.80 meters high. Of course, you can make it as big or as small as you like.
Good luck if you decide to make one too! If you have any questions, tips, or other suggestions, feel free to share them in the comments below!
Sanne

Leave a comment