For this project, half of the blocks (50 in total) will be Foundation Paper Pieced scrappy blocks, using these amazing papers by Leila Gardunia to create 3″ scrappy HSTs.
But for the other 50 blocks, I wanted to make my own scrappy HSTs. After a bit of trial and error, I think I’ve found a method that works really well, and I thought it would be fun to share how I make them with you all.
I’m using the 4-at-a-time HST technique. I found this method makes it a little easier to work with all those smaller scraps, while still creating lovely scrappy blocks.
1: Fabric
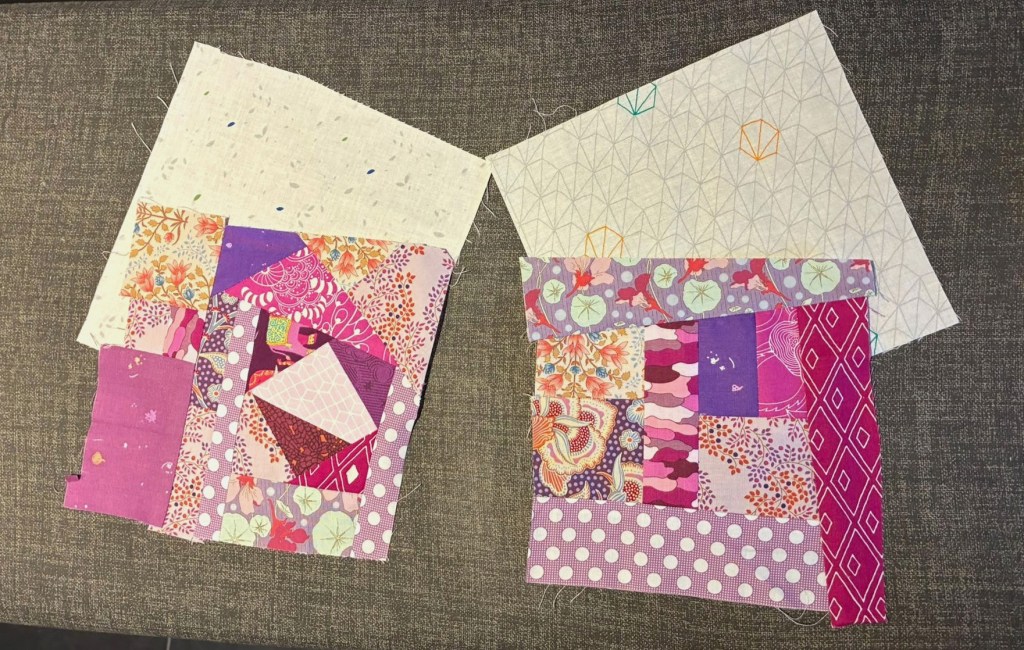
The first step is to sew together enough scraps to create a new piece of fabric measuring slightly larger than 7″ x 7″. For this project, I decided to use fabrics from the same colour group for each scrappy HST.
For the other half of the HST, I’m using a piece of low-volume fabric, cut to exactly 7″ x 7″. Having one perfectly square piece of fabric makes it much easier to get accurate sewing lines later on.
2: Sewing
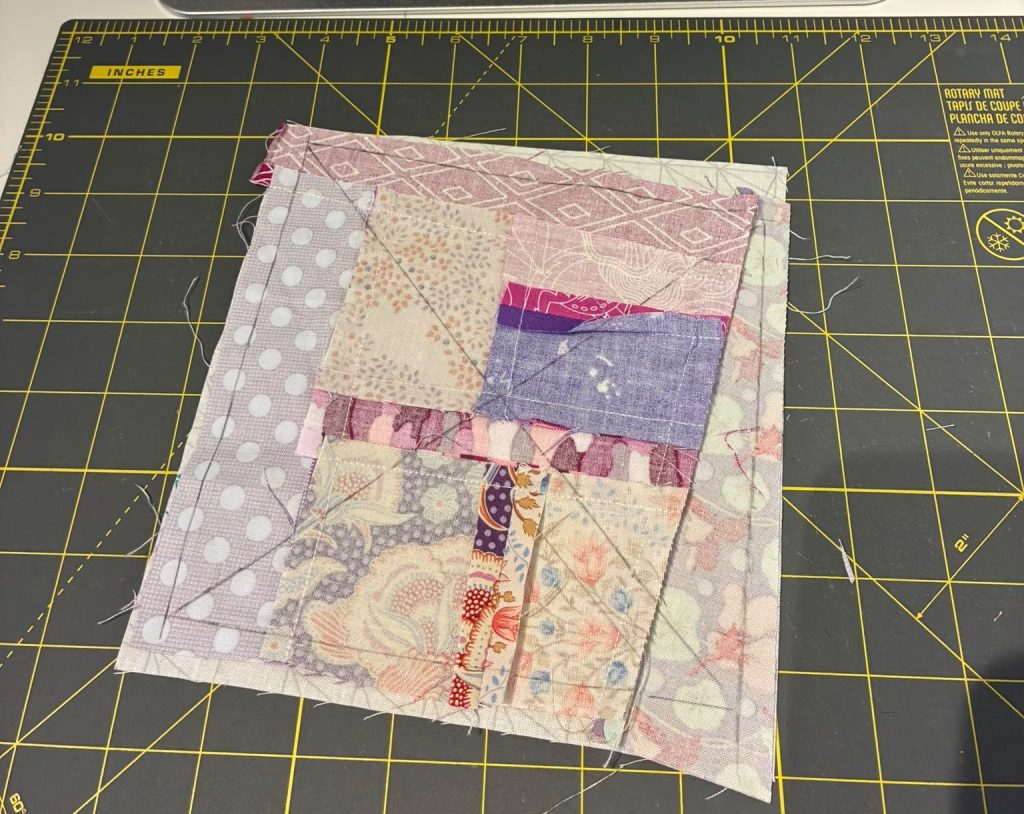
To make four HSTs at a time, you sew around the edges of the square rather than sewing diagonal lines.
Place both fabrics right sides together and sew all the way around the outside of the square. It really helps if one of your fabrics is a perfect square, as you can use the edges as a guide. Alternatively, you can draw the sewing lines on the back of your fabric.
3: Cutting the HST
Once you’ve sewn all the way around the square, trim the seam allowances down to ¼”.
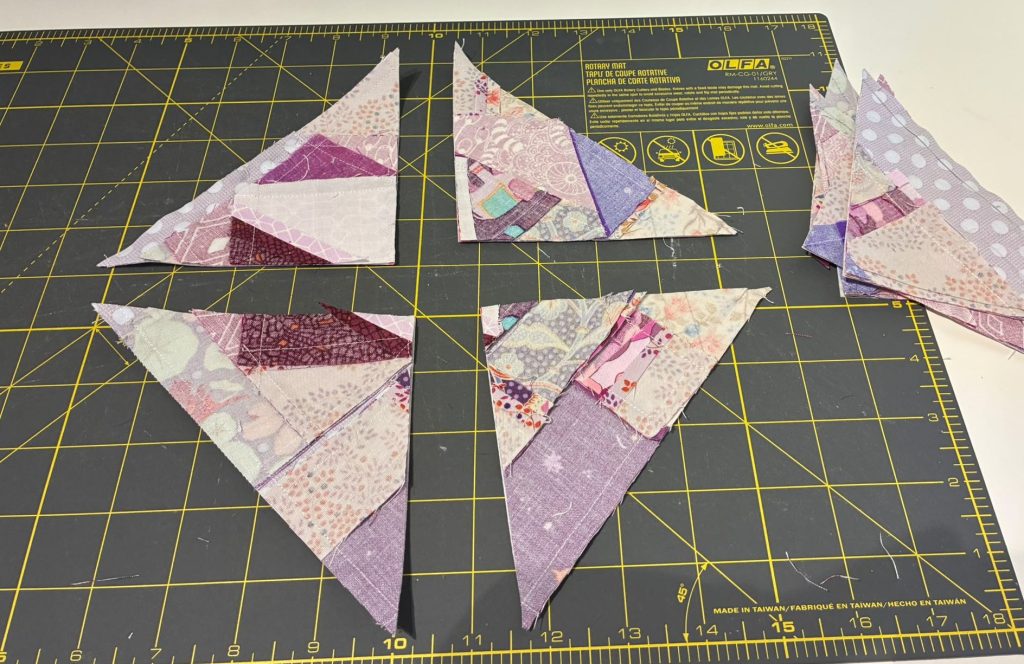
The next step is to cut diagonally from corner to corner in both directions. This will give you four half-square triangles.
Press them open, and we’re ready for the final step: turning these into perfectly sized scrappy HSTs!
4: squaring up the HST
As you can see in the picture, my HSTs are quite a bit larger than I need for this project. They measure approximately 4.5″, but I need to trim them down to 3.5″ to get a finished 3″ block.
So, how do I decide where to trim them?
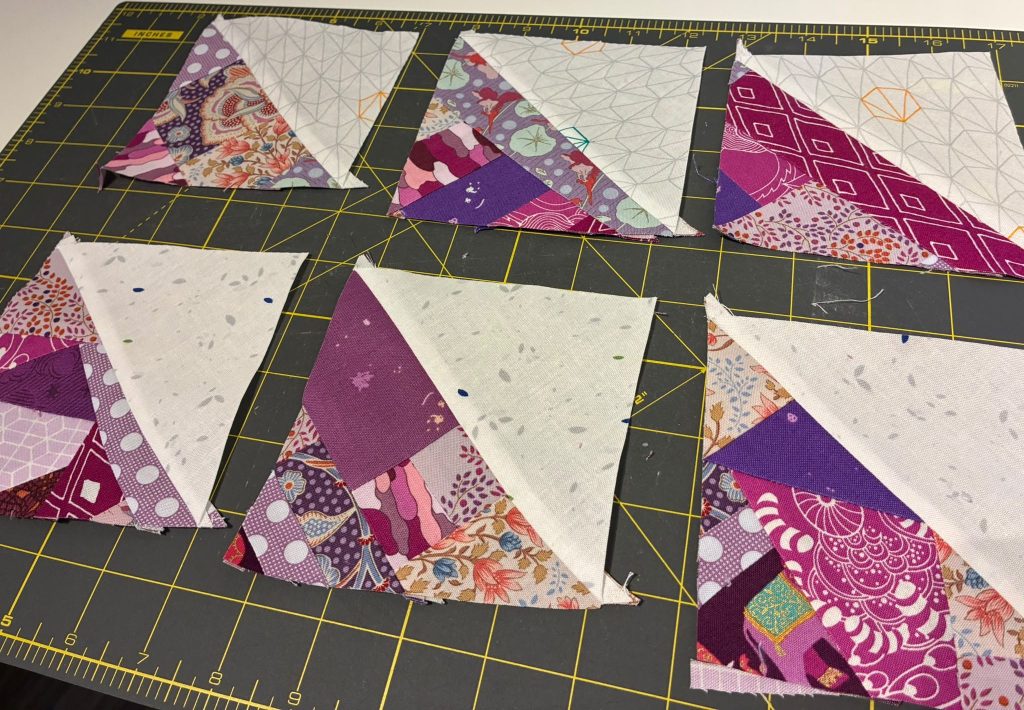
or this step, I really love using my Bloc-Loc ruler. It slides perfectly along the pressed seam of the HST, making it much easier to square everything up.
When deciding where to trim, there are a couple of things I like to keep in mind.
First, I move the ruler around a little to make sure I won’t end up with unnecessary bulk in the seams when joining the HSTs together. I try to make sure that every piece of fabric along the edge of the scrappy half is at least ½” wide. Otherwise, a very small scrap might end up right in the seam allowance, creating extra bulk when sewing the blocks together.
The second thing I look at is how to distribute the different fabrics as nicely as possible. I want to include as many of my little scraps as I can, so I move the ruler around until I’m happy with the combination of fabrics in the finished block.
To make this easier, I used some washi tape to mark the exact 3.5″ square I would be cutting out. This gives me a clear view of what the finished HST will look like before I make the final cuts.
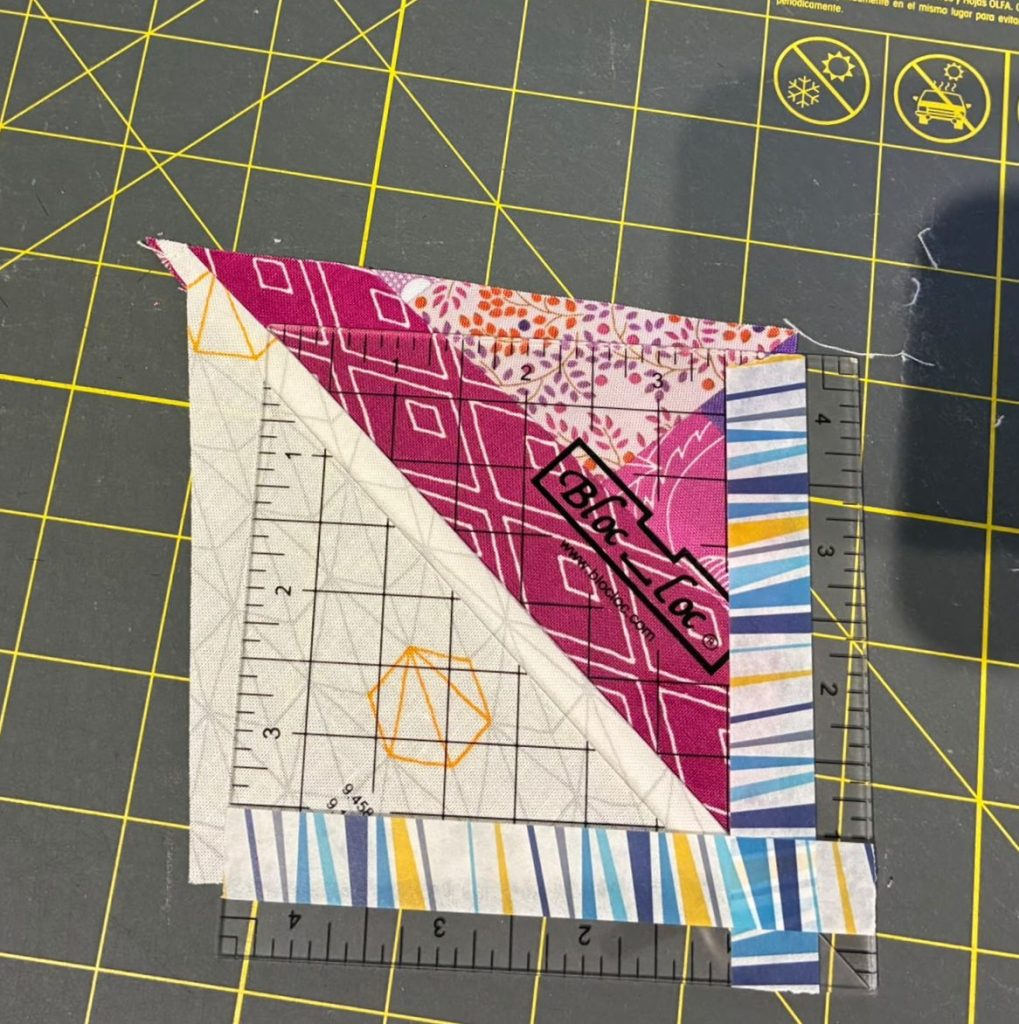
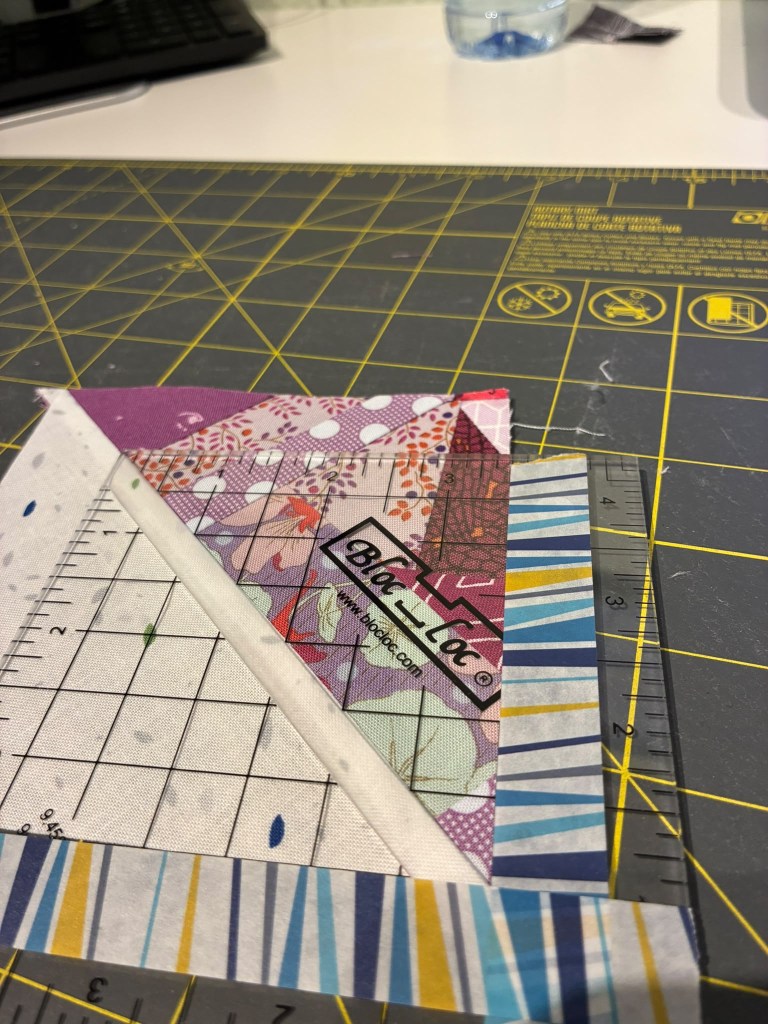
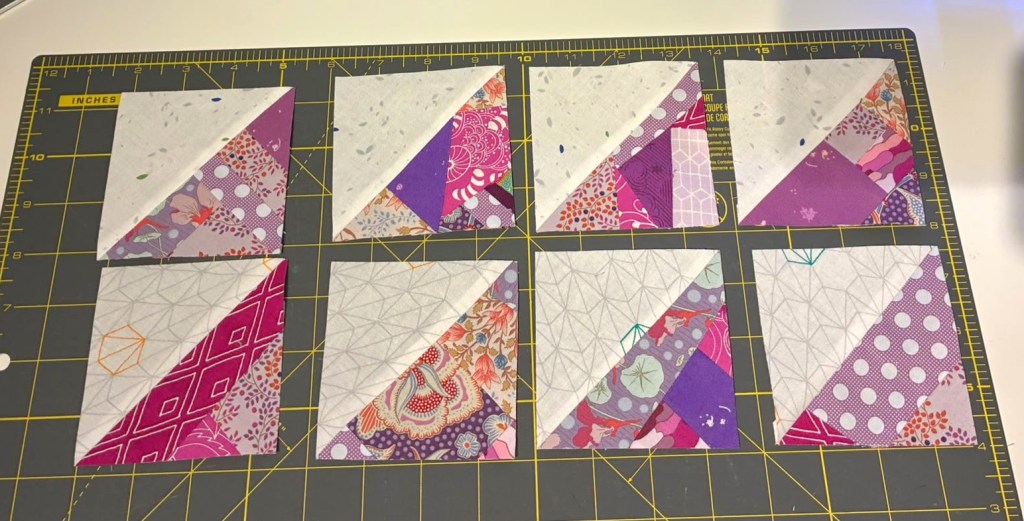
Then you square them up and you have a beautiful set of scrappy HST for a project. Let me know if you’ve ever made them or how do you make scrappy blocks? Leave a comment below or reach out on Instagram at SewbySanne.


Leave a Reply